


AWS Identity and Access Management (IAM) is a crucial component of any AWS deployment, allowing administrators to manage user access and permissions to AWS services. With IAM, administrators can create and manage AWS users and groups, assign granular permissions, and enable Multi-Factor Authentication (MFA) for added security.
IAM is a powerful tool, but it can also be overwhelming for new users. In this blog post, I'll provide a quick hands-on lab that will help you learn the basics of IAM in under 5 minutes. You'll learn how to create an IAM user, group, and policy. By the end of this post, you'll have a quick hands-on experience with IAM and be ready to start securing your AWS infrastructure. So let's get started!

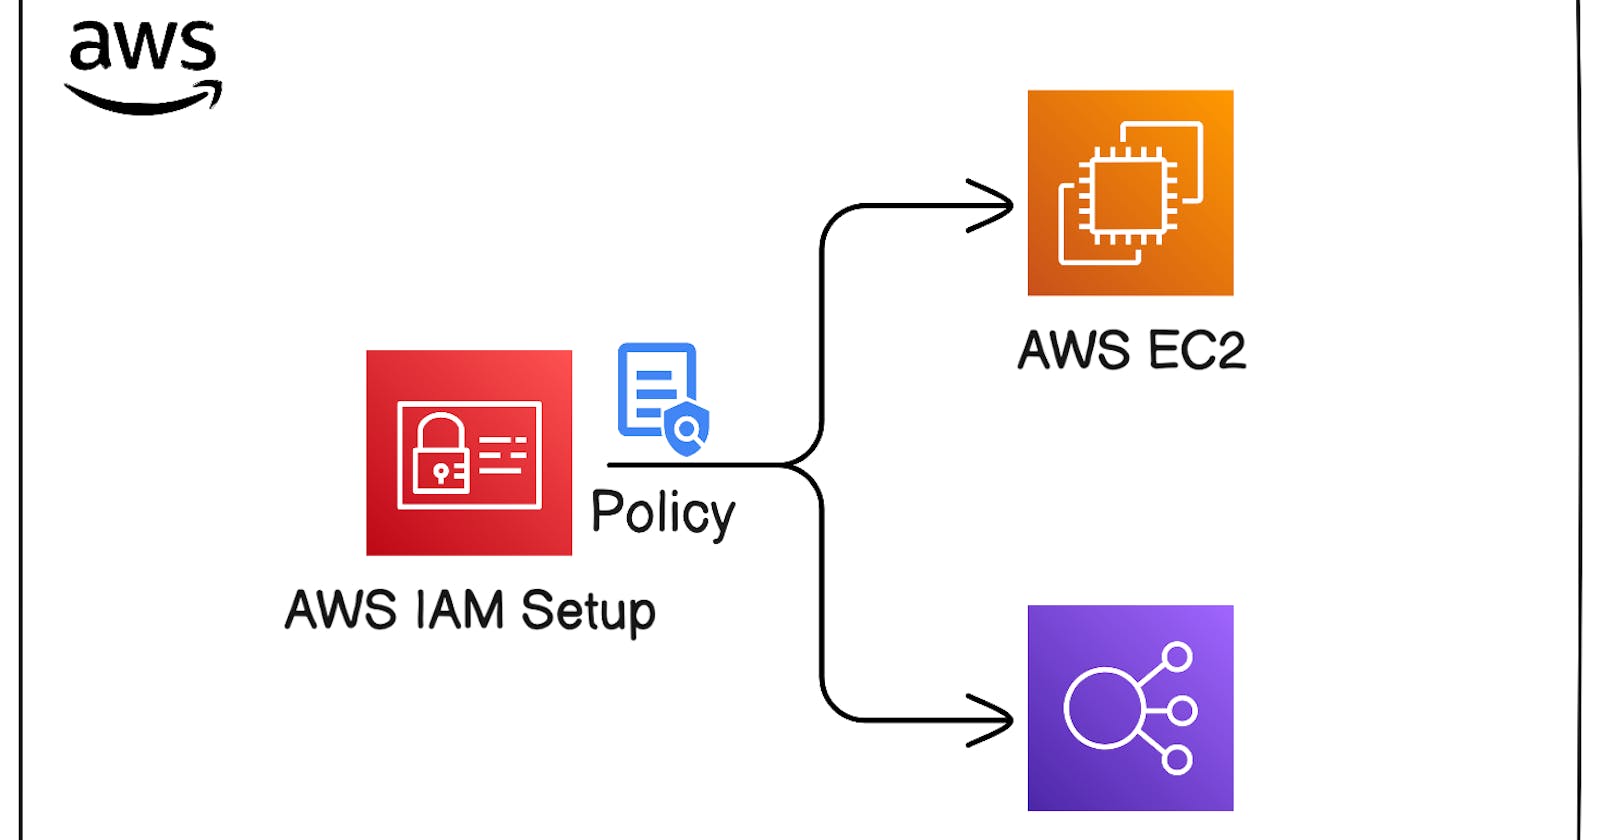
Task: As an IT administrator for a company, your manager has asked you to create a group of developers who will be responsible for managing the company's EC2 instances and Elastic Load Balancers (ELBs) in the AWS environment. However, you don't want to grant the developers full access to all resources in the account, so you need to create a custom policy that will restrict their access to only the necessary resources.
To achieve this, you will create a custom policy that allows the developers to perform actions on EC2 instances and ELBs, and then create a group called "Developers" that has this policy attached. Finally, you will add the developers to this group to grant them the necessary permissions.
Prerequisites:
A free-tier AWS account
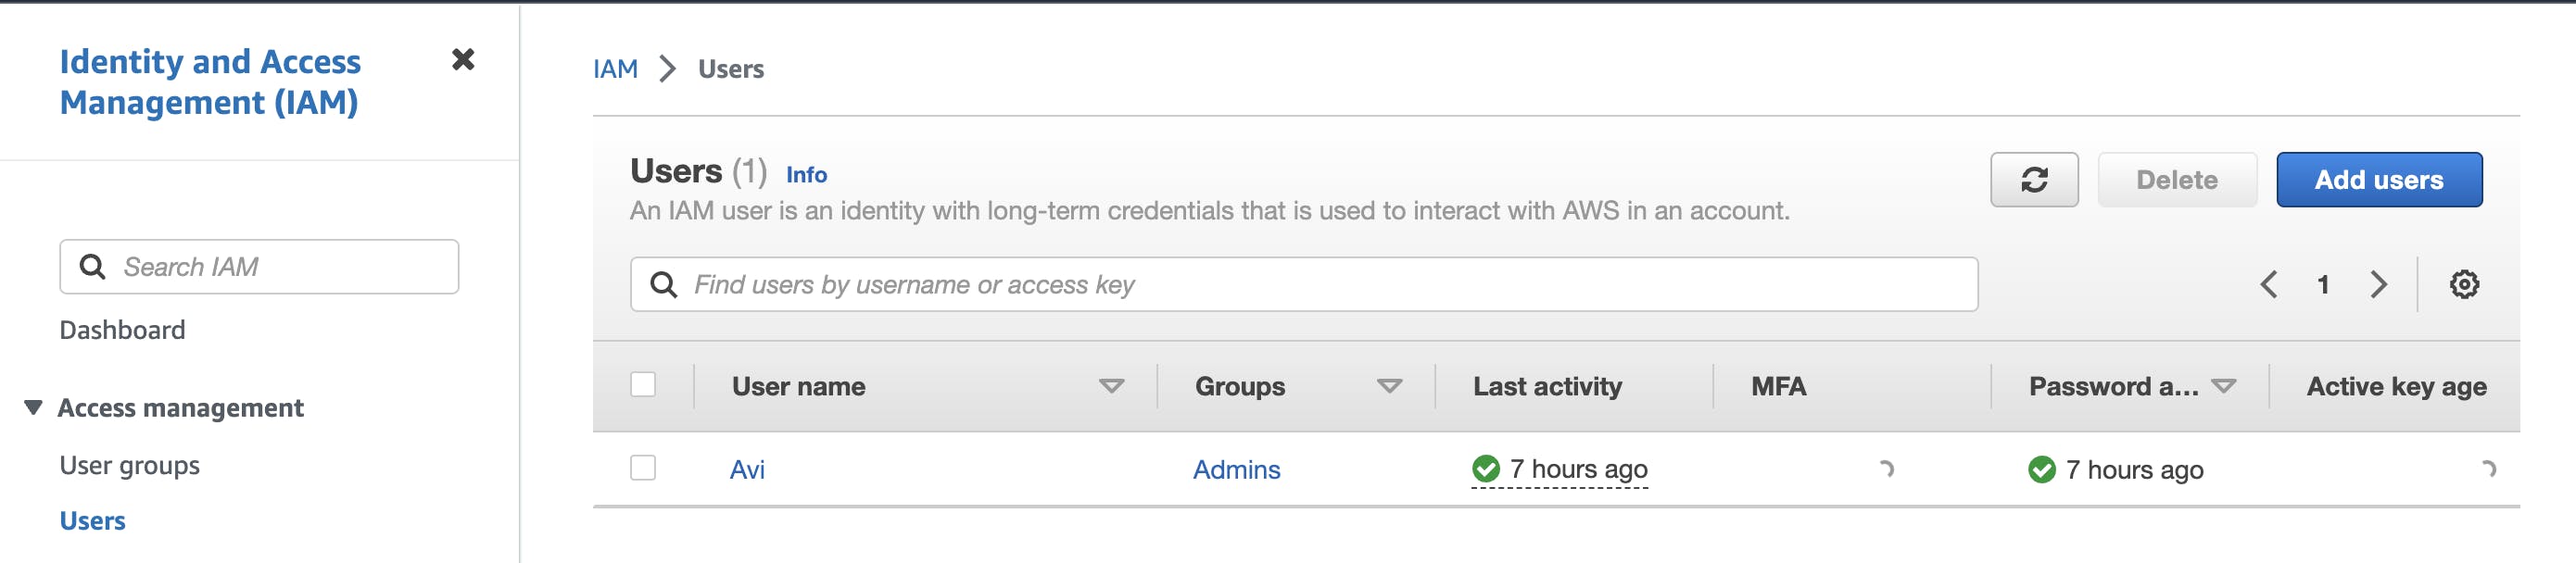
Logged in as an IAM user with admin permissions
Step 1: Create a Policy
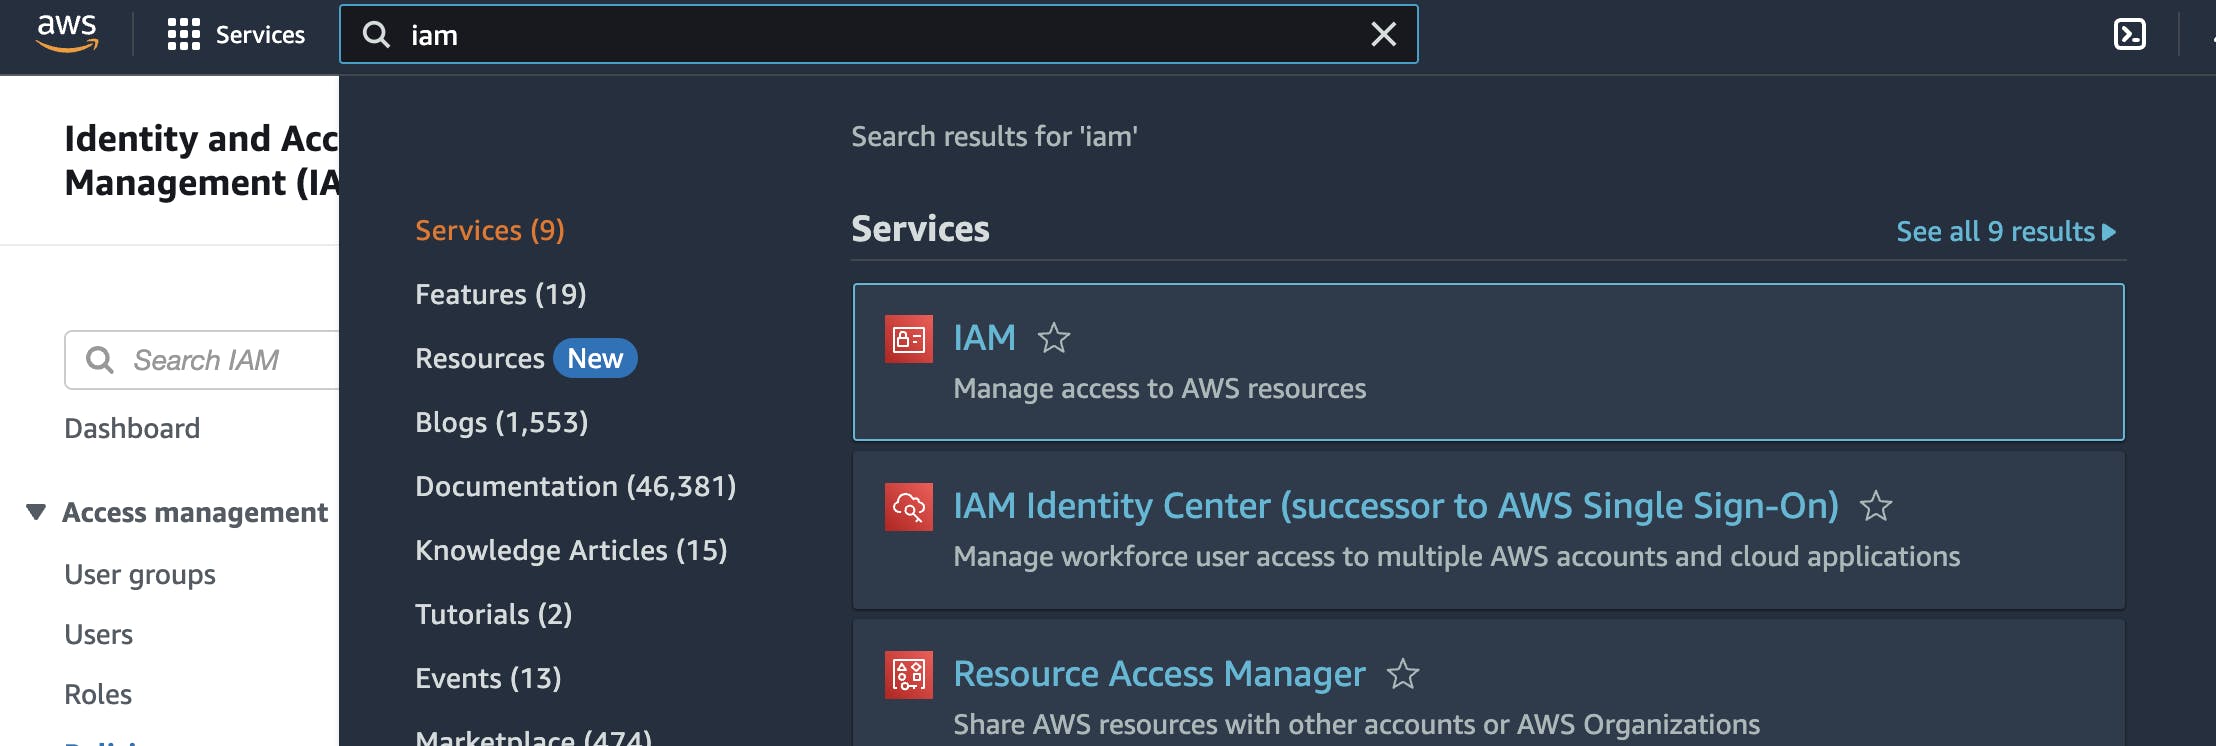
Go to the AWS Management Console and select IAM from the list of services.
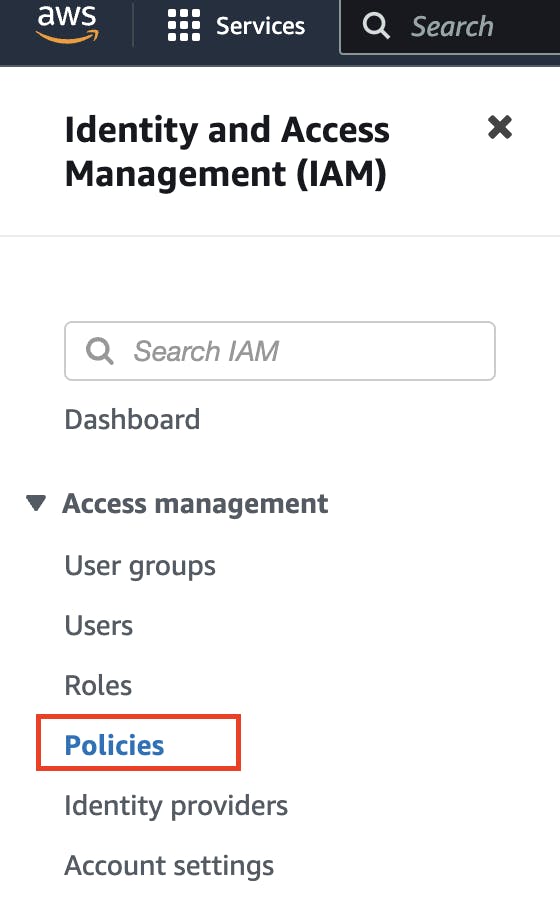
In the left navigation pane, select "Policies" and click on "Create policy".
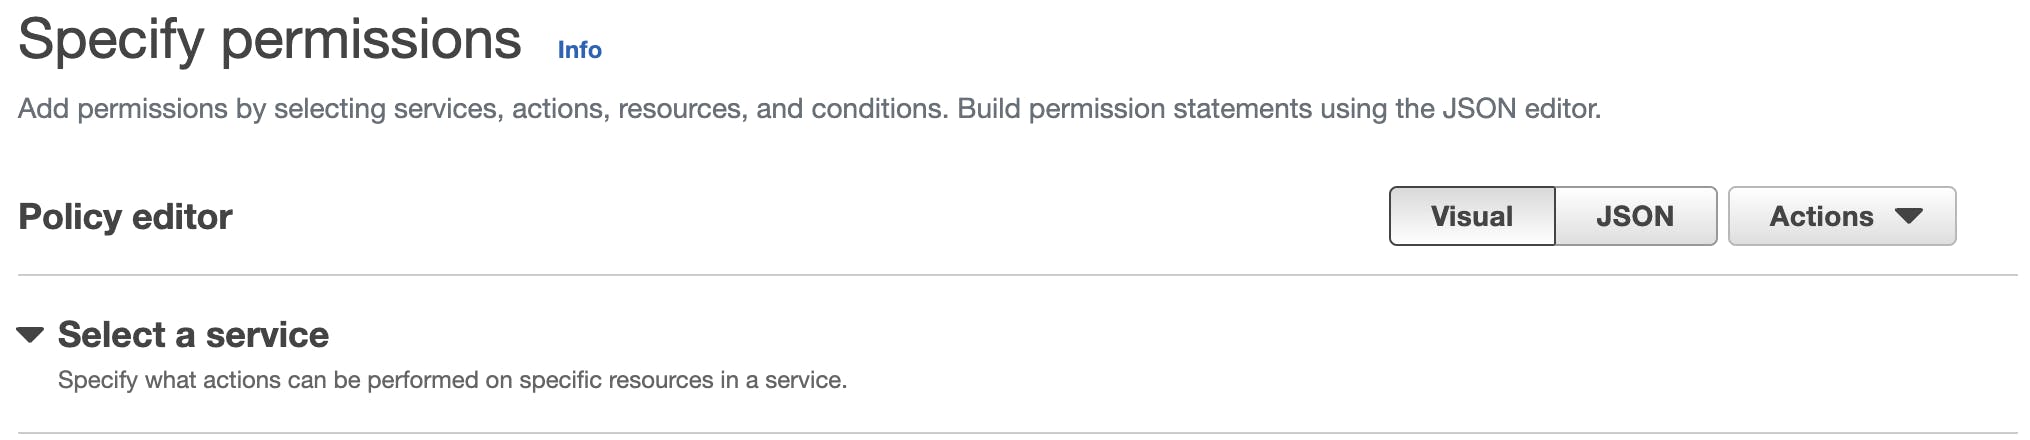
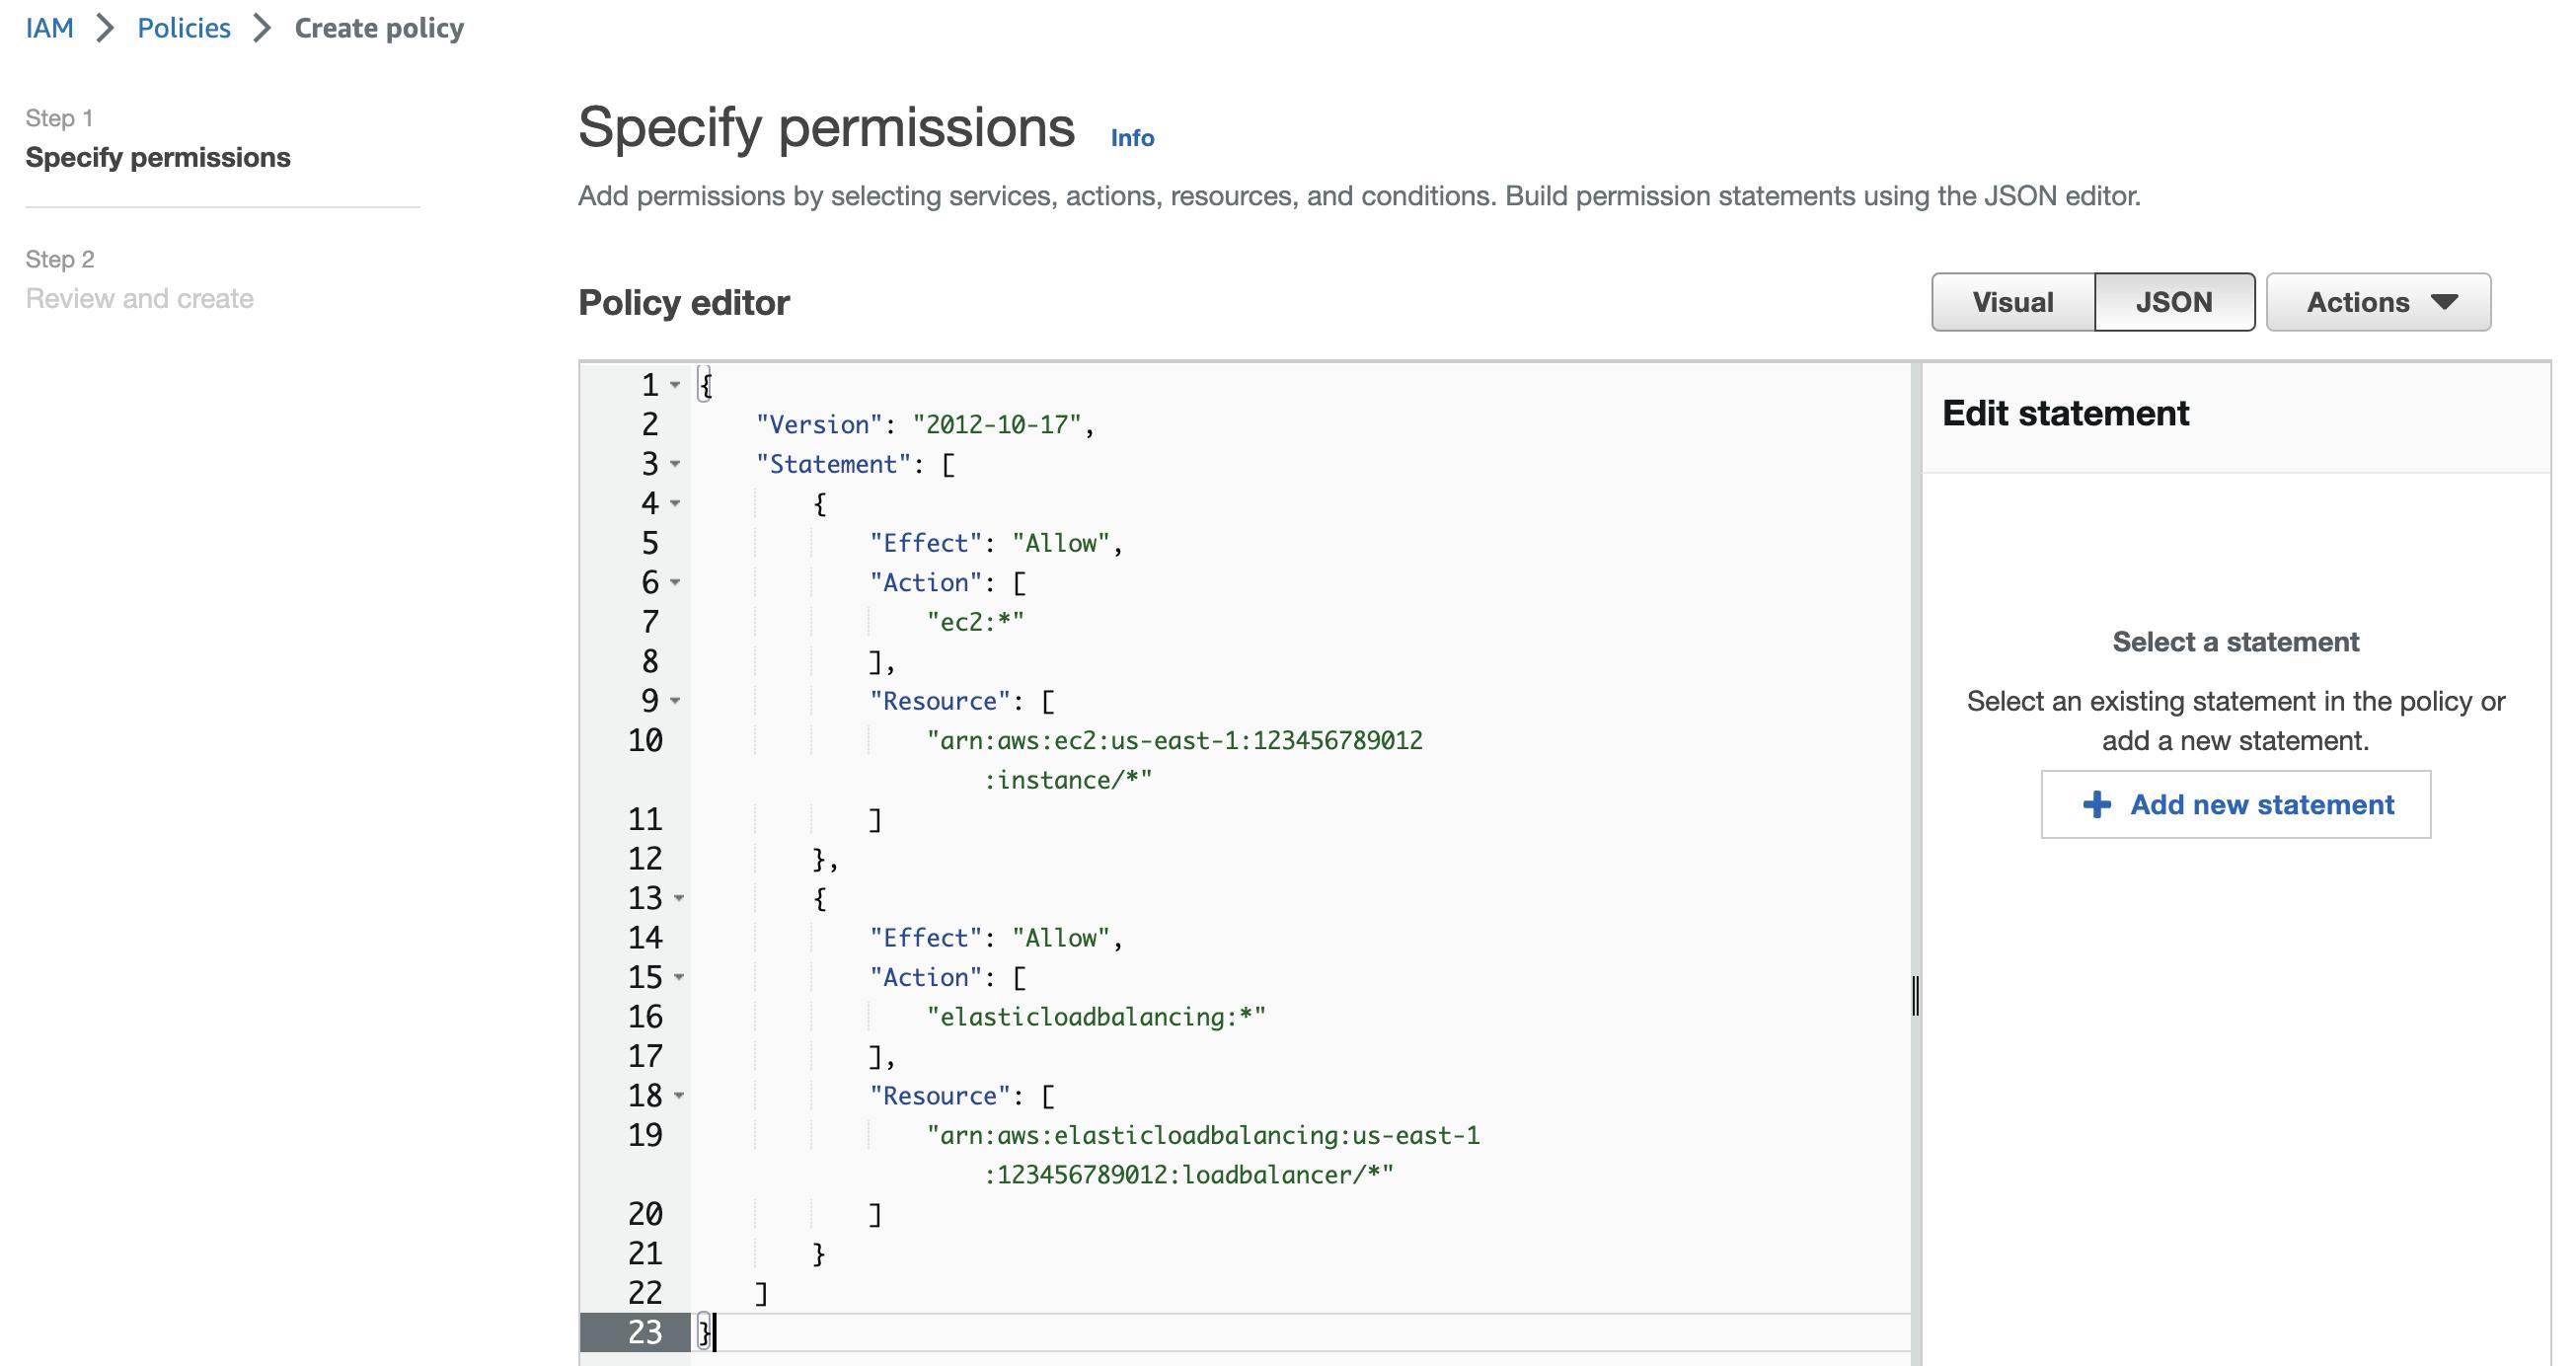
Select the "JSON" tab and paste the policy JSON provided below.

V
V
Quick explanation of the above JSON policy details:
"Version": "2012-10-17": This specifies the version of the policy language used in this policy. This should always be set to "2012-10-17" for new policies."Statement": [...]: This is the main part of the policy, and contains one or more statements that define the permissions granted by the policy."Effect": "Allow": This statement allows the actions specified in theActionfield."Action": ["ec2:*"]: This statement allows any EC2 action. The*character is a wildcard that matches any action."Resource": ["arn:aws:ec2:us-east-1:123456789012:instance/*"]: This statement allows the specified actions on all EC2 instances in the specified region (us-east-1) and account (123456789012). The*character at the end of the ARN specifies that the policy applies to all instances in that region."Action": ["elasticloadbalancing:*"]: This statement allows any Elastic Load Balancing action. Again, the*character is a wildcard that matches any action."Resource": ["arn:aws:elasticloadbalancing:us-east-1:123456789012:loadbalancer/*"]: This statement allows the specified actions on all Elastic Load Balancers in the specified region and account. The*character at the end of the ARN specifies that the policy applies to all load balancers in that region.
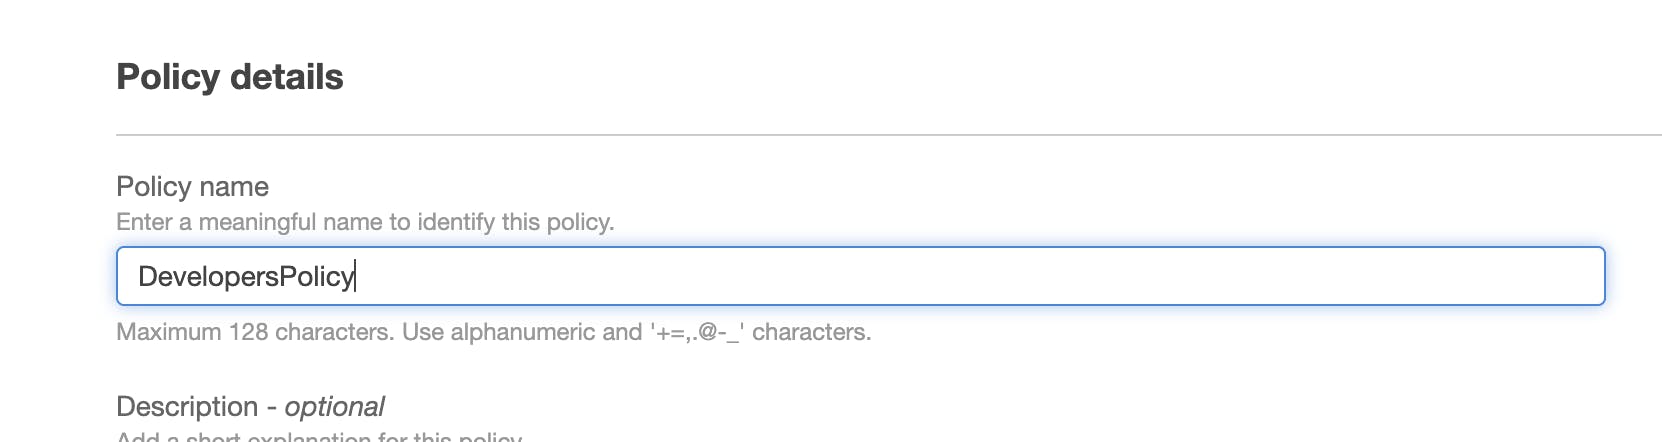
Click on "Review policy", give it a name (e.g., "DeveloperPolicy"), and click "Create policy".
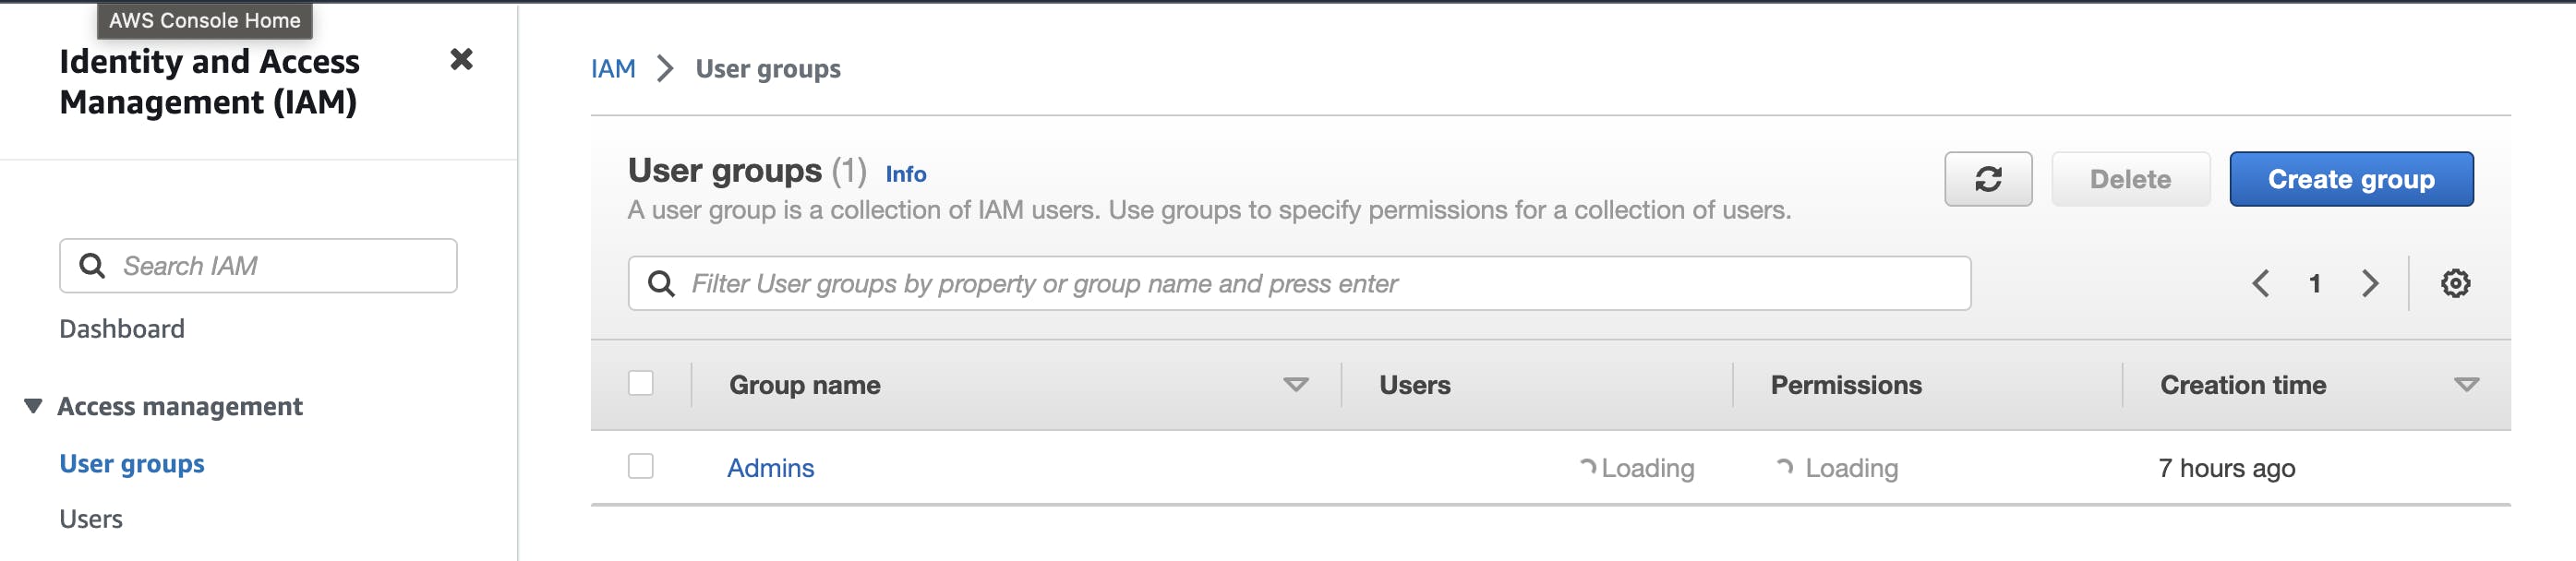
Step 2: Create a Group
In the left navigation pane, select "Groups" and click on "Create New Group".
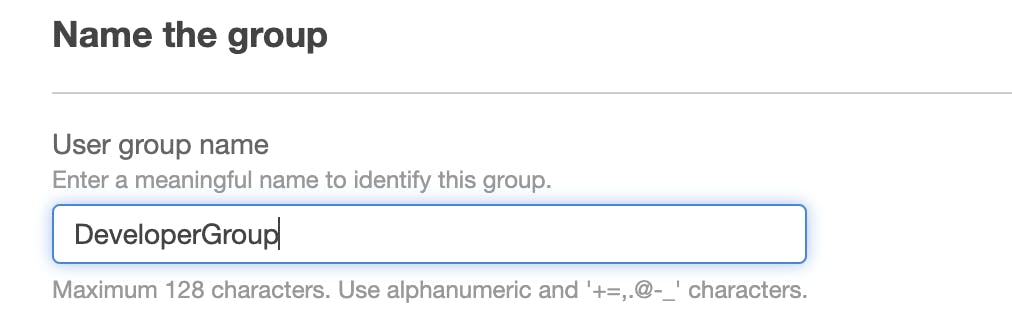
Give your group a name (e.g., "DeveloperGroup").
In the "Attach Policy" section, search for and select the policy you created in Step 1.
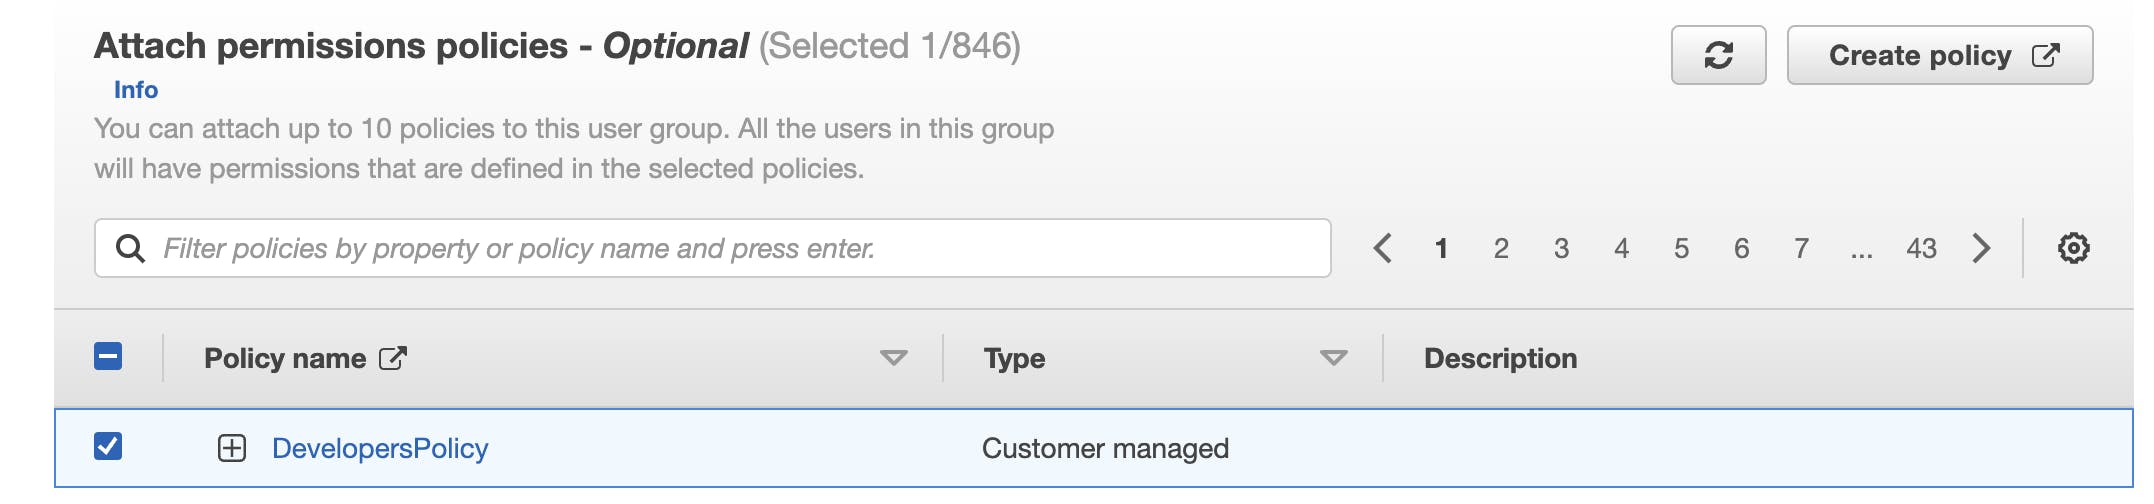
Click on "Create Group".
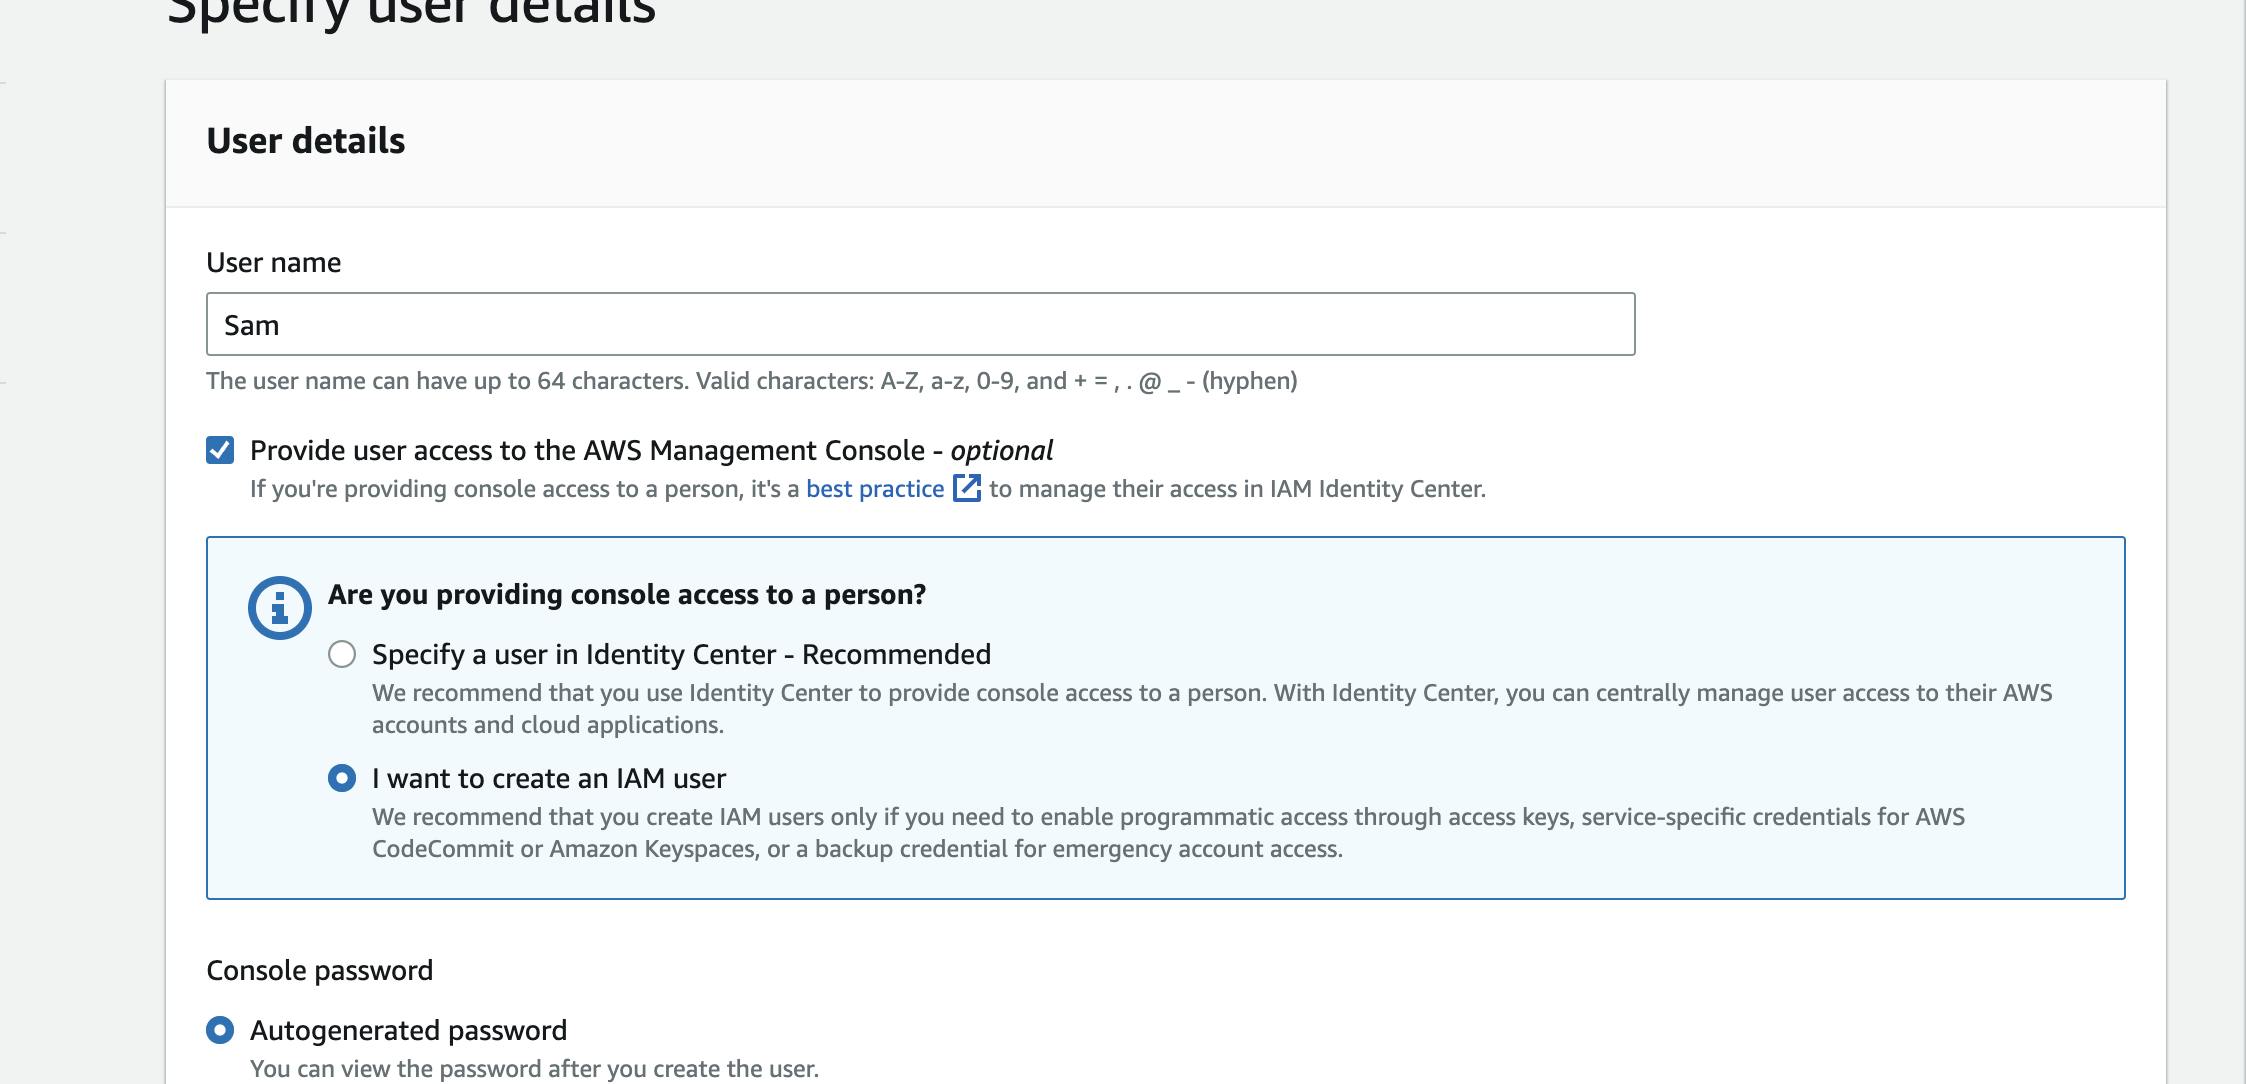
Step 3: Create a User
In the left navigation pane, select "Users" and click on "Add user".
Give your user a name (e.g., "Sam") and provide Management Console access. Then select Autogenerated Password.
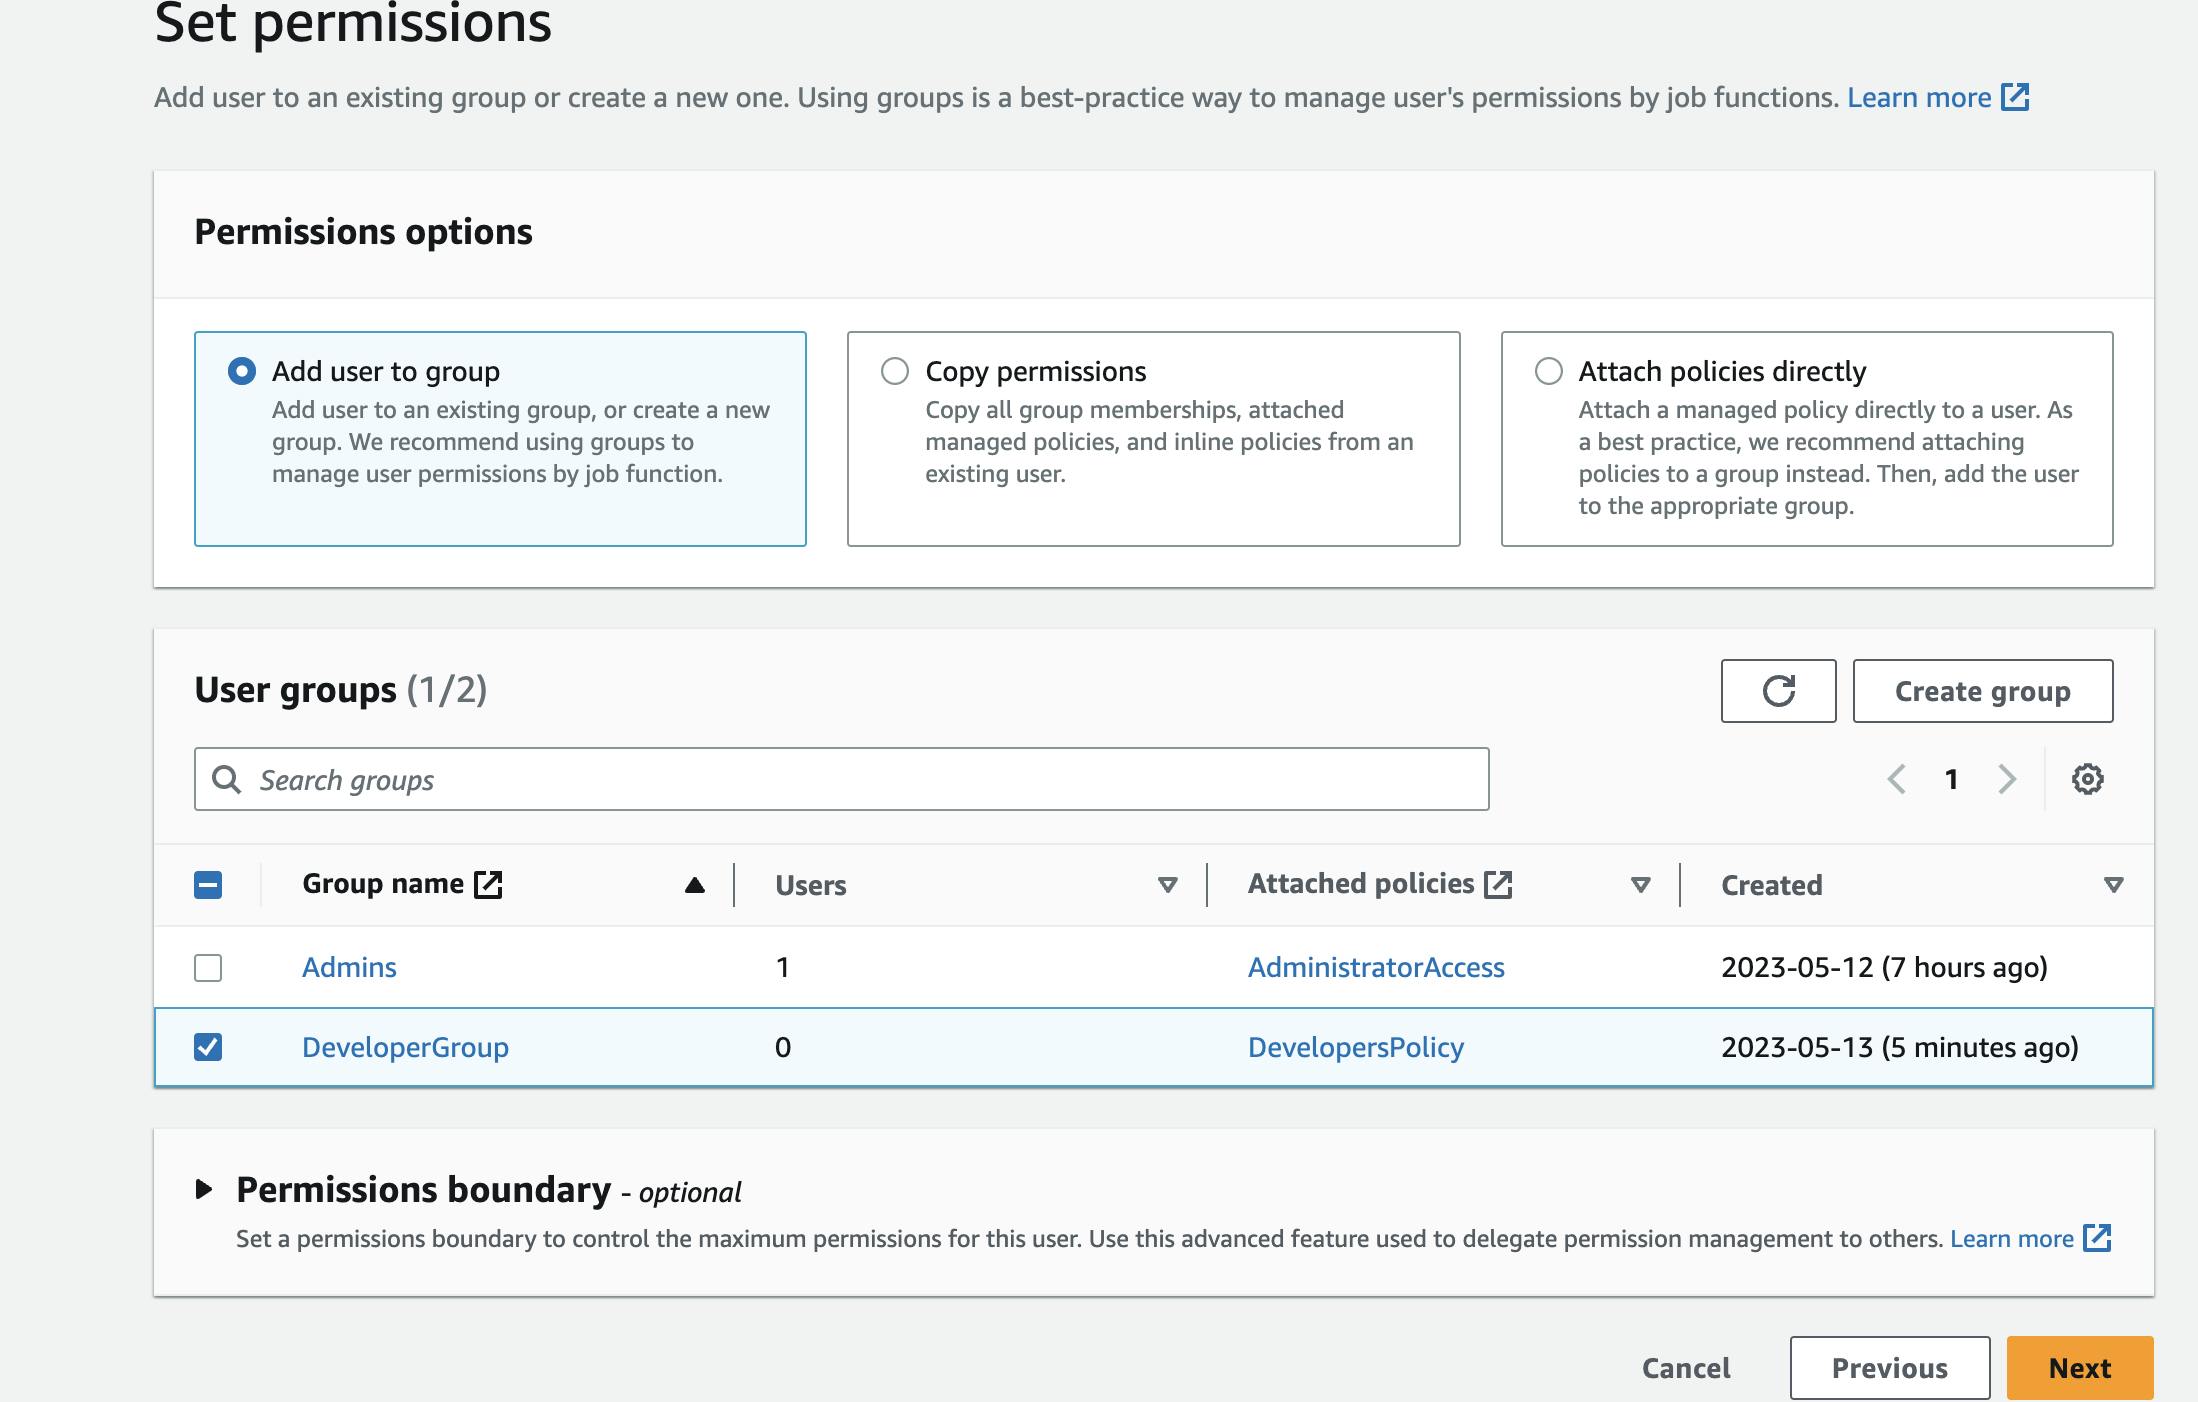
Click "Next" to move to the "Set permissions" page.
Select "Add user to group" and select the "Developer Group" that you created in Step 2.
Click on "Next: Tags" and then "Next: Review".
Review your user settings and click on "Create user". And download the generated password to login as User "Sam"
Step 4: Test Your Setup
Note the "Access key ID" and "Secret access key" provided for your user.
Use these keys to make an API call to an AWS service (e.g., EC2 or S3) to verify that your setup is working correctly.
#AWS #IAM #Security #CloudComputing #CloudSecurity #AWSIAM #AccessManagement #IdentityManagement #CloudManagement #AWSBlog #IAMLab #DevOps #AWSDevOps #InfrastructureAsCode #IAC #AWSFreeTier